Building a J2EE app using IntelliJ Idea and deploying on Heroku
Table of Contents
Let’s see how to build a basic Java Enterprise (fondly known as J2EE) application, made up of a Servlet and a JSP file, with the help of the popular IDE by Jetbrains, IntelliJ Idea. Finally, we will have a look at how to deploy the same on the Heroku cloud. 🌧
In the first place, I’m writing this blog because I couldn’t find a full-fledged write-up on how to do this myself initially and I had to try and err to find out the right way to do it.
Requirements #
- Java Development Kit, which can be downloaded from here.
- IntelliJ Idea Ultimate Edition, download it here. The ultimate edition is paid, but comes with a 30-day trial license. However, as long as you are a student, you can claim an educational license for free. More about it here.
- Heroku account. If you don’t have, create one for free here.
- Heroku CLI. Find the instructions here.
- Tomcat server. You need to download the same from this link, under Binary Distributions > Core > zip. After downloading, make sure to extract the contents to any folder of your wish.
- If you’re on Linux/macOS, you’ll need to enable executable permission for the tomcat binaries by running the following command on your terminal.
sudo chmod -R +x <path-to-tomcat-extracted-folder>/bin
Let’s start engineering! #
- Open IntelliJ Idea Ultimate and create a new project.

- Create a Java Enterprise project, with Maven as the build tool, JUnit as the test runner, and Java as the language.

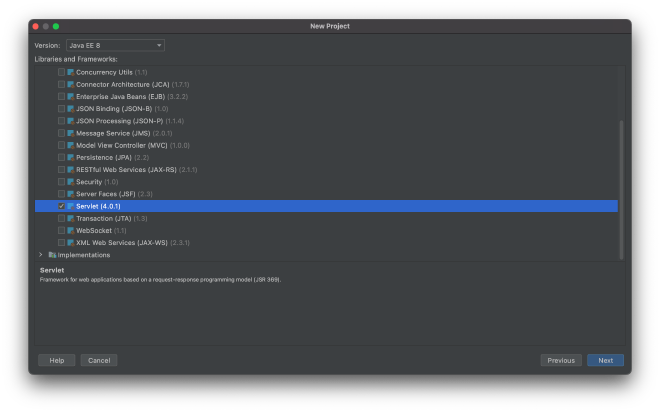
- In the next window, under Specifications, mark the checkbox for Servlet and ignore the rest.
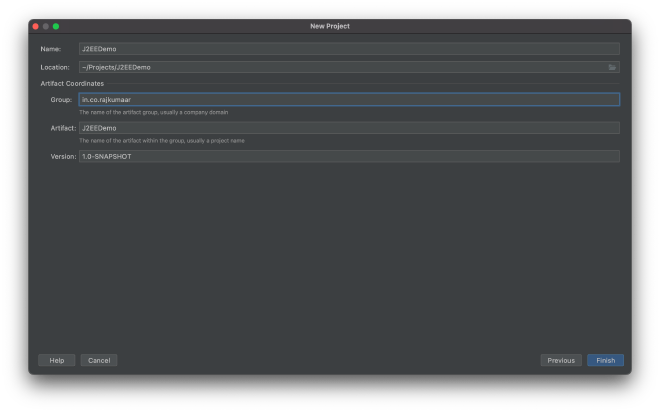
- Regarding the project name and properties, you can fill in as you wish, and click on Finish!
- Now, the creation of the project is complete and the IDE might take sometime to load all the necessary plugins/dependencies.
- If you look at the project directory, there will be a pom.xml at the root of the file. This is the file which Maven uses to maintain the dependencies of your project. Essentially, it’s similar to a package.json in NodeJS (or) composer.json in PHP.


Incase you ever want to add a library, say MySQL connector, you’ll need to get its dependency XML tag from here and paste inside your pom.xml. After which, you’ll see a tiny dialog on your top-right with a refresh button which on clicking will install the newly added package.
JSP #
- Let’s create a JSP file. Right click on
Project Folder > src > main > webappfrom the sidebar, and create a JSP file named hello.jsp, and fill in some JSP content.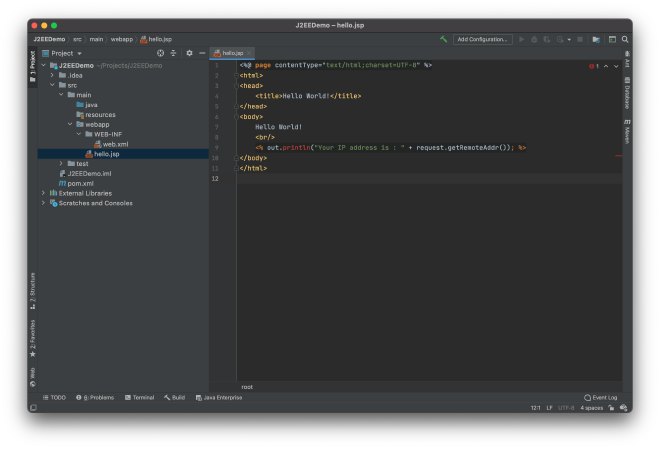
- Click on Add configuration at the center top. After the window opens, click on the + button as instructed, and choose
Tomcat server > Local. - Give it a name as you wish, and near the Application server input box, click on the configure button. Now, enter the folder path where you extracted the zip of the Tomcat server.

- If you see a warning at the bottom saying No artifacts marked for deployment, click the Fix button near the warning and choose ProjectName:war exploded. Then, click Okay.
- Now, you’ll see a neat Run button at the top. Click on it and wait until Java compiles your web app and opens your default browser.
- Your browser would have opened the URL of your application context, similar to
localhost:8080/J2EEDemo_war_exploded. This is the root of your web application. Append /hello.jsp to your current URL (it becomeshttp://localhost:8080/J2EEDemo_war_exploded/hello.jsp) and enter. You’ll see the contents you wrote in your hello.jsp.


Servlet #
- Let’s create a Servlet now. Right-click on
Project Folder > src > main > javafrom the sidebar and create a new Java Servlet. Enter the name and package as you wish.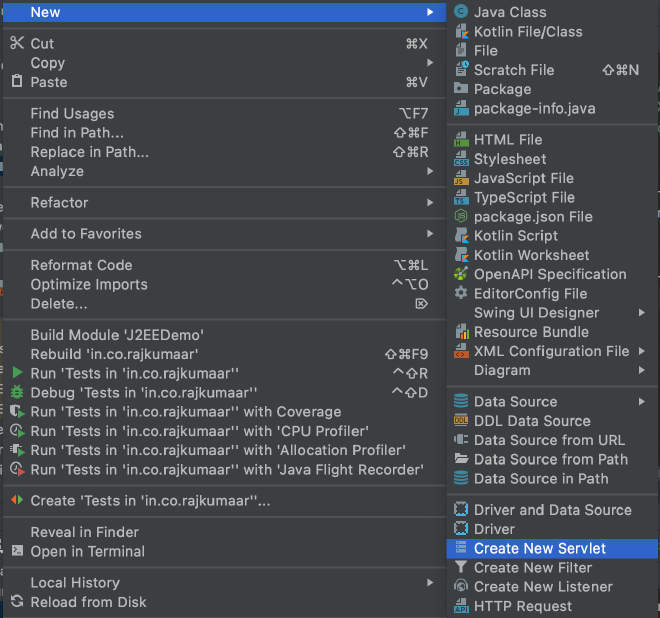
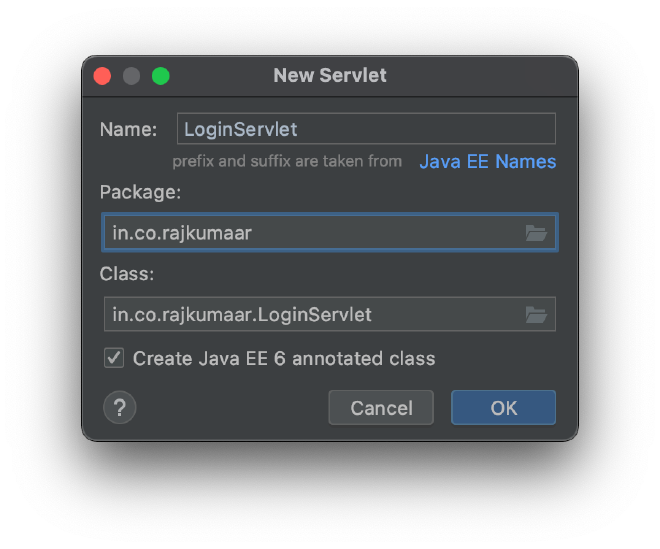
- Under the doGet() method, paste the following code :


@WebServlet(name = "LoginServlet")
public class LoginServlet extends HttpServlet {
    protected void doGet(HttpServletRequest request, HttpServletResponse response) throws ServletException, IOException {
        PrintWriter out = response.getWriter();
        out.println("You are at login page");
    }
}
- Next thing to do is assign an URL to this servlet. Open
src/main/webapp/WEB-INF/web.xmland paste the following :
Make sure you change the servlet-class according to your package and class name.
<?xml version="1.0" encoding="UTF-8"?>
<web-app xmlns="http://xmlns.jcp.org/xml/ns/javaee"
         xmlns:xsi="http://www.w3.org/2001/XMLSchema-instance"
         xsi:schemaLocation="http://xmlns.jcp.org/xml/ns/javaee http://xmlns.jcp.org/xml/ns/javaee/web-app_4_0.xsd"
         version="4.0">
    <servlet>
        <servlet-name>LoginServlet</servlet-name>
        <servlet-class>in.co.rajkumaar.LoginServlet</servlet-class>
    </servlet>
    <servlet-mapping>
        <servlet-name>LoginServlet</servlet-name>
        <url-pattern>/login</url-pattern>
    </servlet-mapping>
</web-app>
- Now, click on the Run button again and select Restart server.
- Visit http://localhost:8080/J2EEDemo_war_exploded/login to get the contents from the servlet.
Heroku #
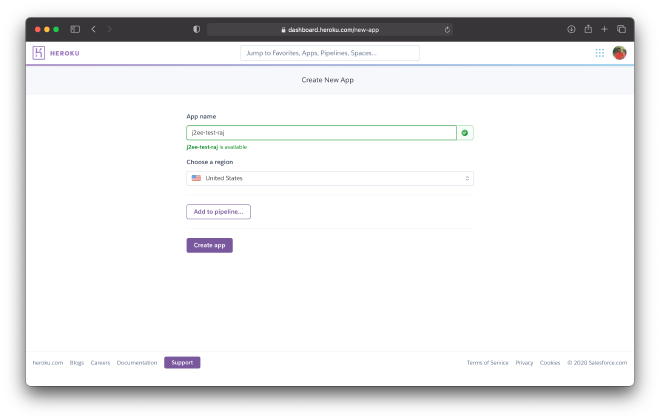
Visit https://dashboard.heroku.com/new-app and create a new app.
On your IntelliJ Idea Ultimate, open the Build menu and click on Build artifacts. Choose AppName:war > Build.
You’ll be able to see a
J2EEDemo-1.0-SNAPSHOT.warfile inside thetarget/directory of your application. Right-click on the file and copy > Absolute Path.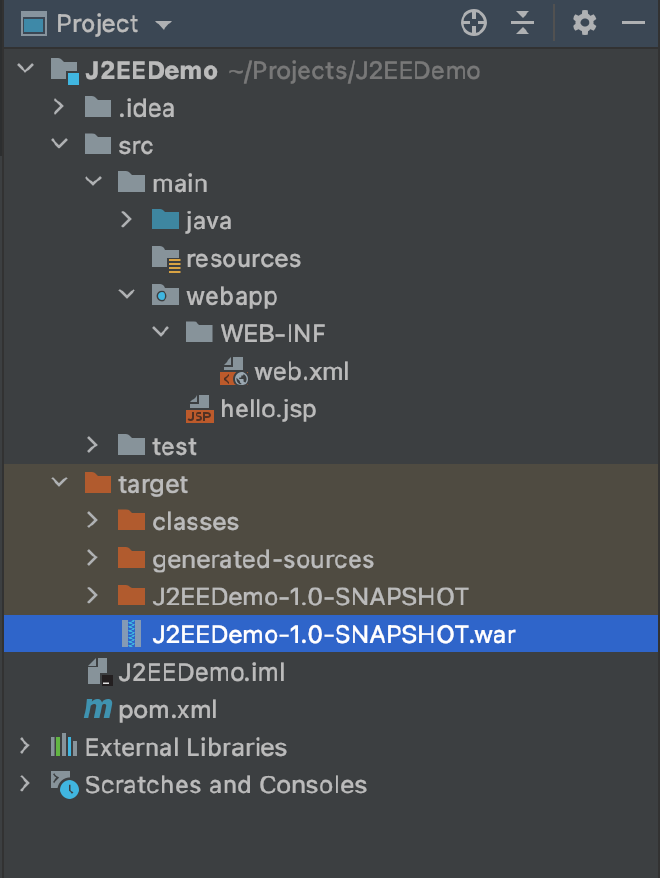
Open up your terminal/command prompt, and run
heroku login.Authorize on the website it opens up for you.
Come back to the terminal, and run
heroku plugins:install java.Then, run the following command. Make sure you replace the path for the WAR file and your application name.


heroku war:deploy "/Users/rajkumar/Projects/J2EEDemo/target/J2EEDemo-1.0-SNAPSHOT.war" -a j2ee-test-raj